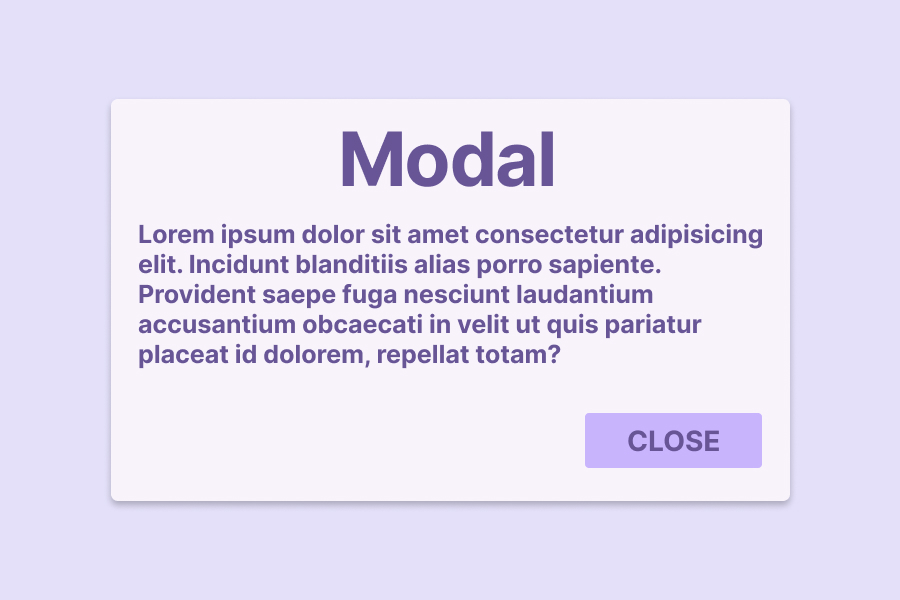
モーダルの中にSwiperで実装したスライダーがある場合の実装方法を解説します。デモでは画像のギャラリーがあり、クリックするとその画像のモーダルが開き、スライダーで操作できるようにします!
この記事でわかること
- dialog要素を使用したモーダルの実装方法
- Swiperとモーダルの組み合わせ方法
はじめに
この記事では、モーダルの中にSwiperで実装したスライダーがある場合の実装方法を解説します。モーダルはdialog要素を使用して実装します。
dialog要素を使用したモーダルの実装の基本は下記のページを参照ください。
バージョン情報
この記事で使用しているSwiperのライブラリのバージョンは以下の通りです。
- Swiper11.2.10
Swiperの読み込みに関しては、公式サイトを参考にimportかCDNでCSSファイルとJSファイルを読み込んでください。
モーダルの中にSwiperで実装したスライダーがある場合の実装方法
それでは、モーダルの中にSwiperで実装したスライダーがある場合の実装方法について解説します。
デモのCodePenは下記になります。
モーダルは、画面外をクリックした時や、Escキーを押したときに閉じることができます。
それでは、実装方法を見ていきましょう!
HTML
HTMLは次の通りになります。モーダルはdialog要素で実装するようにします。なので、Swiperのコードはdialogの中に書きましょう。
<!-- ギャラリー画像 -->
<div class="grid">
  <a class="grid__img js-modal-trigger" href="">
    <img src="https://picsum.photos/800/450?random=1" alt="">
  </a>
  <a class="grid__img js-modal-trigger" href="">
    <img src="https://picsum.photos/800/450?random=2" alt="">
  </a>
  <!-- ギャラリー画像が続く -->
</div>

<!-- モーダル -->
<dialog class="modal js-modal">
  <div class="modal__overlay js-modal-overlay"></div>
  <div class="modal__inner">
    <div class="swiper modal__swiper">
      <div class="swiper-wrapper">
        <div class="swiper-slide">
          <div class="modal__title">スライダー1</div>
          <div class="modal__img">
            <img src="https://picsum.photos/800/450?random=1" alt="">
          </div>
        </div>
        <div class="swiper-slide">
          <div class="modal__title">スライダー2</div>
          <div class="modal__img">
            <img src="https://picsum.photos/800/450?random=2" alt="">
          </div>
        </div>
        <!-- ギャラリー画像と同じ画像が続く -->
      </div>
      <!-- Swiperの矢印 -->
      <div class="swiper-button-prev"></div>
      <div class="swiper-button-next"></div>
    </div>
    <!-- 閉じるボタン -->
    <button class="modal__close js-modal-close">モーダルを閉じる</button>
  </div>
</dialog>
JavaScriptで操作する要素に関しては、クラスの先頭にjs-をつけています。これにより、JavaScriptで操作する要素を特定しやすくなります。
モーダルを開くトリガーになる画像にはaタグで実装し、js-modal-triggerを付けます。モーダルのdialogにはjs-modalを、モーダルの外側にはjs-modal-overlayを付けます。また、モーダルを閉じるボタンにはjs-modal-closeを付けましょう。
CSS
CSSは、モーダル部分に関してのみ解説します。
全てのスタイルはCodePenを参照してください。
.modal {
  /* モーダルのスタイルのリセット */
  margin: 0;
  padding: 0;
  border: none;
  max-width: unset;
  max-height: unset;

  width: 100vw;
  height: 100dvh;
}

.modal::backdrop {
  display: none;
}

.modal__overlay {
  position: fixed;
  inset: 0;
  background-color: rgba(255, 255, 0, 0.4);
}
dialog要素にはデフォルトでmarginやpaddingやborderのスタイルが付いてるのでリセットしておきましょう。
dialog要素には、モーダルの外側(::backdrop)が付いていますが、これはJavaScriptで操作できないので、display: none;で非表示にしてます。
モーダルの外側としてはmodal__overlayを使用してるので、これをposition: fixedにして固定しておきましょう。
JavaScript
最後にJavaScriptの実装について解説します。
全コードは次の通りになります。
class Modal {
  constructor() {
    this.modal = document.querySelector('.js-modal');
    if(!this.modal) return
    this.init();
  }
  init() {
    this.triggers = document.querySelectorAll('.js-modal-trigger');
    this.overlay = document.querySelector('.js-modal-overlay');
    this.closeBtn = document.querySelector('.js-modal-close');

    // Swiperの設定
    this.setSwiper();

    // クリックイベントなどの設定
    this.event()
  }
  setSwiper() {
    this.swiper = new Swiper('.swiper', {
      slidesPerView: 1,
      loop: true,
      navigation: {
        nextEl: '.swiper-button-next',
        prevEl: '.swiper-button-prev',
      },
    });
  }

  event() {
    // ギャラリーの画像をクリックしたとき
    this.triggers.forEach((trigger, index) => {
      trigger.addEventListener('click', (e) => {
        e.preventDefault();
        this.openModal(index);
      } );
    });

    // 閉じるボタンをクリックしたとき
    this.closeBtn.addEventListener('click', () => {
      this.closeModal();
    });

    // モーダルの外側をクリックしたとき
    this.overlay.addEventListener('click', () => {
      this.closeModal();
    });

    // Escキーを押したとき
    document.addEventListener('keydown', (e) => {
      if(e.key === 'Escape') {
        this.closeModal();
      }
    });
  }

  openModal(index) {
    // モーダルを開いた時に固定にするための設定
    this.bodyOffsetY = window.scrollY;
    document.body.style.top = `-${this.bodyOffsetY}px`;
    document.body.classList.add('is-scrollLock');

    // クリックしたindexのスライダーを表示
    this.swiper.slideToLoop(index, 0);
    // モーダルを開く
    this.modal.showModal();
  }

  closeModal() {
    // 固定解除
    document.body.classList.remove('is-scrollLock');
    document.body.style.top = '';
    window.scrollTo(0, this.bodyOffsetY);

    // モーダルを閉じる
    this.modal.close();
  }
}

const modal = new Modal();
それでは解説していきます!
init
class Modal {
  constructor() {
    this.modal = document.querySelector('.js-modal');
    if(!this.modal) return
    this.init();
  }
  init() {
    this.triggers = document.querySelectorAll('.js-modal-trigger');
    this.overlay = document.querySelector('.js-modal-overlay');
    this.closeBtn = document.querySelector('.js-modal-close');

    // Swiperの設定
    this.setSwiper();

    // クリックイベントなどの設定
    this.event()
  }
}
constructorでは、モーダルを.js-modalクラスで設定したので取得しています。
initでは、モーダルを開くトリガーとモーダルの外側、閉じるボタンを取得しておきます。また、Swiperの設定を行うsetSwiper()と、イベントを設定するevent()を呼び出しています。
setSwiper
setSwiperでは、Swiperの設定を行います。
setSwiper() {
  this.swiper = new Swiper('.swiper', {
    slidesPerView: 1,
    loop: true,
    navigation: {
      nextEl: '.swiper-button-next',
      prevEl: '.swiper-button-prev',
    },
  });
}
ここでは、スライダーを1枚表示し、ループ機能をオンにしています。
また、スライダーの矢印(.swiper-button-next, .swiper-button-prev)をnavigationで設定するようにしましょう。
event
eventでは、クリックイベントやキーボードイベントを設定します。
event() {
  // ギャラリーの画像をクリックしたとき
  this.triggers.forEach((trigger, index) => {
    trigger.addEventListener('click', (e) => {
      e.preventDefault();
      this.openModal(index);
    } );
  });

  // 閉じるボタンをクリックしたとき
  this.closeBtn.addEventListener('click', () => {
    this.closeModal();
  });

  // モーダルの外側をクリックしたとき
  this.overlay.addEventListener('click', () => {
    this.closeModal();
  });

  // Escキーを押したとき
  document.addEventListener('keydown', (e) => {
    if(e.key === 'Escape') {
      this.closeModal();
    }
  });
}
ギャラリーの画像は、aタグで実装しているのでリンク遷移を防ぐためにe.preventDefault()を呼び出しています。
モーダルを開く処理はopenModal()メソッドで、閉じる処理はcloseModal()メソッドで行います。openModal()にクリックした要素のindexを渡すことで、表示するスライダーを指定することができます。
openModal
openModalでは、モーダルを開く処理を書いています。
モーダルのガタツキを防ぐ
そのままだと、スクロールするとモーダルの裏側にあるコンテンツがスクロールしてしまうので、body要素にis-scrollLockクラスを追加してスクロールを固定します。
openModal(index) {
  // モーダルを開いた時に固定にするための設定
  this.bodyOffsetY = window.scrollY;
  document.body.style.top = `-${this.bodyOffsetY}px`;
  document.body.classList.add('is-scrollLock');
}
window.scrollYなどのコードは、モーダルを開いた際にガタつかないようにするためのコードになります。
is-scrollLockのCSSは以下のように設定してます。
body.is-scrollLock {
  position: fixed;
  width: 100%;
  overflow-y: scroll;
}
表示するスライダーの指定
openModal(index) {
  // クリックしたindexのスライダーを表示
  this.swiper.slideToLoop(index, 0);
}
クリックした画像は、引数のindexになるので、this.swiper.slideToLoop(index, 0)で表示するスライダーを指定します。
ここで、Swiperの設定をloopにしているのでslideToLoop()でスライドの移動をするようにしてください。slideToLoop()の第2引数は、スライドのスピードを設定できます。これを0にすることで、スライドの移動が瞬時に終わるようになり、モーダルを開いた際の違和感を無くすことができます。
モーダルの表示
openModal(index) {
  // モーダルを開く
  this.modal.showModal();
}
dialog要素のモーダルを開くには、showModal()メソッドを使用することで、モーダルを表示することができます。
closeModal
closeModalでは、モーダルを閉じる処理を書いています。
closeModal() {
  // 固定解除
  document.body.classList.remove('is-scrollLock');
  document.body.style.top = '';
  window.scrollTo(0, this.bodyOffsetY);

  // モーダルを閉じる
  this.modal.close();
}
スクロールを固定しているので、is-scrollLockクラスを外すなどで固定を解除します。
モーダルを閉じるには、close()メソッドを使用することで、モーダルを閉じることができます。
以上が、モーダルとSwiperの組み合わせの実装方法の解説になります。
まとめ
Web制作でよくある実装の、モーダルの中にスライダーがある実装方法を解説しました。
このデモでは、モーダルが1つの場合の実装方法でしたが、実際には複数のモーダルを組み合わせることがあるでしょう。その場合は、このデモの実装方法を参考に対応してみてください!


